DIY Holiday Resin Ornament Kit – Enchanted Pine (All-in-One)
Imagine this: you open the window for a second — cold air, pine scent, and that quiet Christmas feeling. Then you come back to the table, pour crystal-clear resin, and it turns into evergreen depth, warm wood, and tiny golden sparks… with a soft glow that appears when the lights go out.
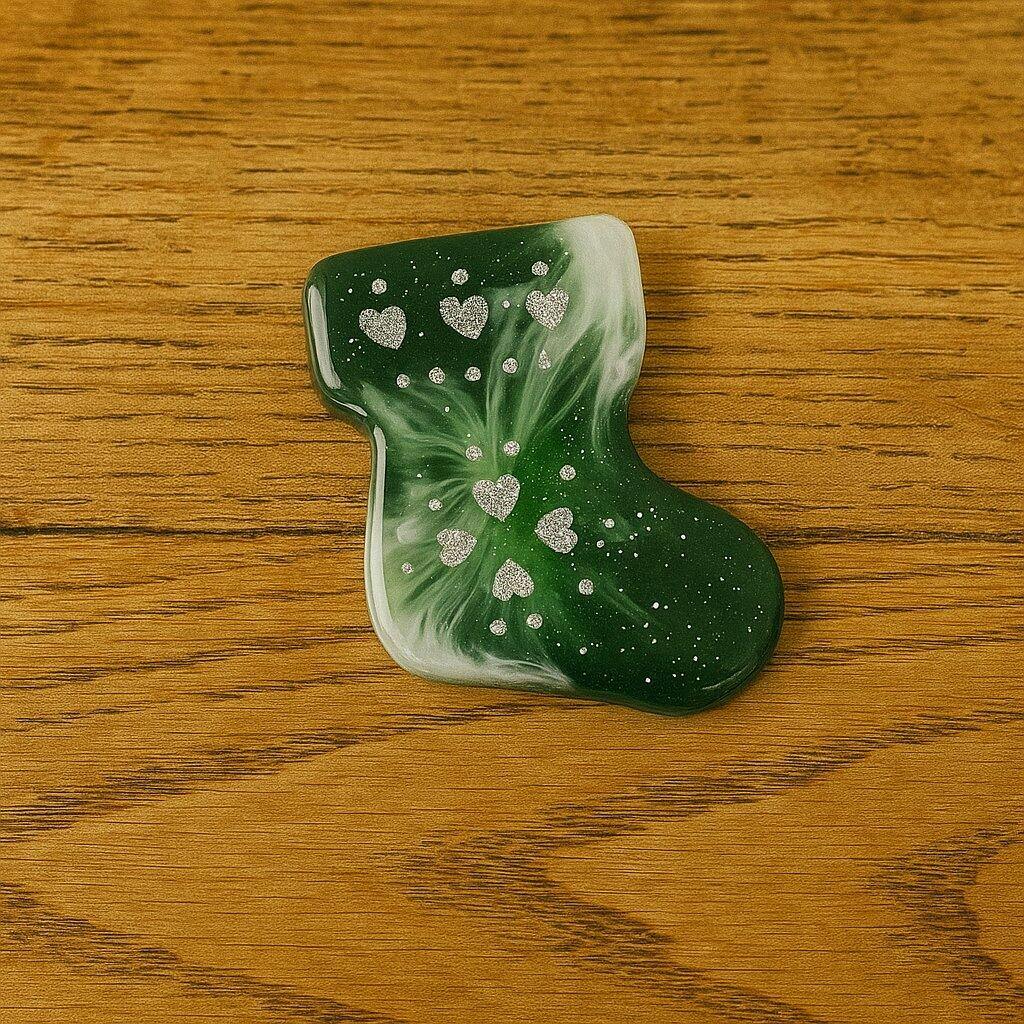
The Enchanted Pine Christmas Limited Edition Kit was made for makers who want ornaments that feel natural, timeless, and a little magical: forest greens, wooden textures, festive red accents, and subtle glow-in-the-dark details.
The vibe you’re aiming for — evergreen depth + gold sparks + a soft night glow ✨ 
✨ This Christmas kit includes (everything is compatible)
- Crystal Epoxy Resin 0.9 kg — low viscosity, crystal clear, ideal for detailed pours
- Pigment Pastes: Wood, White, Sea Green
- Metallic Pigment Powders: Bright Red, Forest Green
- Effect add-ons:
- Gold Gilding Flakes — “floating sparks” effect
- Luminophore Powder – Yellow Green, 10 g — gentle glow in the dark
- Silicone Mold – Christmas Ornaments (9 designs, 8.5 cm)
📖 A tiny story (why this kit feels “easy”)
Forest colors and “natural” effects look expensive — but only when the materials behave. If pigments separate or the resin traps bubbles, the ornament loses that clean, glass-like depth.
This set removes the guesswork. Everything is selected to work together, so you can focus on the fun part: pouring layers, placing flakes, and revealing the glow.
🧤 Before you start (60 seconds)
- Room: 22–24°C for the most predictable result
- Safety: gloves + ventilation
- Surface: flat and stable (so the ornament cures evenly)
🛠 How to get the Enchanted Pine look: step by step
Step 1 — Mix the base (2–3 minutes)
Measure and mix the resin components A + B using A:B = 2:1 by weight. Stir slowly for 2–3 minutes (slow mixing = fewer bubbles), then let it rest for 1–2 minutes.
Step 2 — Create 3 mini-cups (your “forest palette”)
- Sea Green → main evergreen base
- Wood → warm natural accents (wooden texture vibe)
- White → soft highlights / “snow light”
Optional accents: add a tiny pinch of Forest Green metallic to deepen the evergreen shine, and a touch of Bright Red metallic for small festive points (less is more).
Step 3 — Pour with depth (2–4 minutes)
Pour Sea Green first. Add Wood in a thin stream to create natural movement, then touch in White for gentle highlights.
- For a cleaner gradient: pour slowly and don’t overmix inside the mold
- If needed: gently warm the surface (hairdryer from a distance) to pop bubbles
Step 4 — Add the “magic layer” (gold + glow)
Gold flakes: place a few flakes with a stick or toothpick — avoid adding too many (you want elegant sparks, not a full gold sheet).
Luminophore powder: mix a tiny amount into a small portion of clear resin and pour it as a thin top layer, or add it only in select areas for a hidden glow.

 9 designs in one mold — make a full “forest collection” in one cozy evening
Step 5 — Cure (24 hours)
Leave the mold undisturbed for 24 hours on a flat surface. Don’t move it during curing — that’s how you get a smooth, glass-like finish.
Step 6 — Demold & enjoy ✨
Carefully remove your ornament — and try turning off the lights for a second. You’ll see the hidden detail: a soft green glow that feels like a Christmas forest at night.

🌲 What you’ll love about the final look
- Deep forest greens with natural “wood” warmth
- Gold flakes that look like tiny holiday lights
- A hidden glow effect for that “limited edition magic”
- Beginner-friendly process — everything is made to work together
Ready to make ornaments that feel like a Christmas forest?
Order the Enchanted Pine Christmas Limited Edition Kit and pour the season’s magic ✨