DIY Holiday Resin Ornament Kit – Gingerbread (All-in-One)
Picture this: a warm kitchen, cinnamon cookies cooling on the counter, candlelight on the table — and you’re pouring resin that looks like creamy cocoa, soft vanilla, and a gentle bronze glow.
The Warm Spice Christmas Resin Kit was designed for makers who love cozy neutrals, elegant warmth, and subtle festive shimmer — not loud colors, not messy sparkle. Just timeless “winter dessert” tones you’ll want to hang up every year.
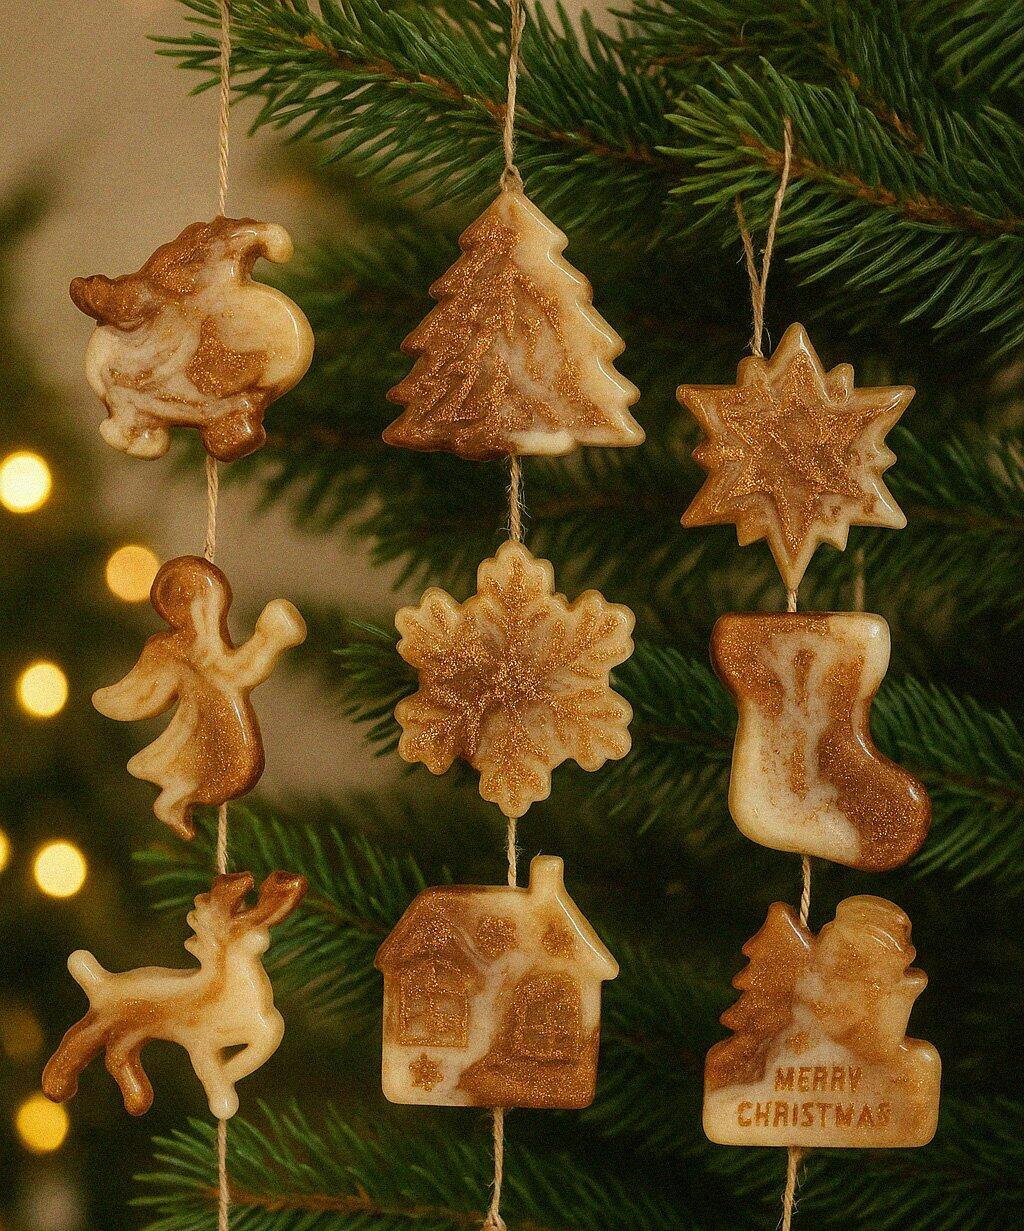
The finish you’re aiming for — warm neutrals + candlelight glow ✨ 
✨ This Christmas kit includes (everything is compatible)
- Crystal Epoxy Resin 0.9 kg — low viscosity, crystal clear, ideal for detailed molds
- Pigment Pastes: Cocoa, Beige, White
- Metallic Pigment Powders: Orange, Bronze
- Effect add-on: Polyester Glitter White — for a soft “snowy sugar” sparkle
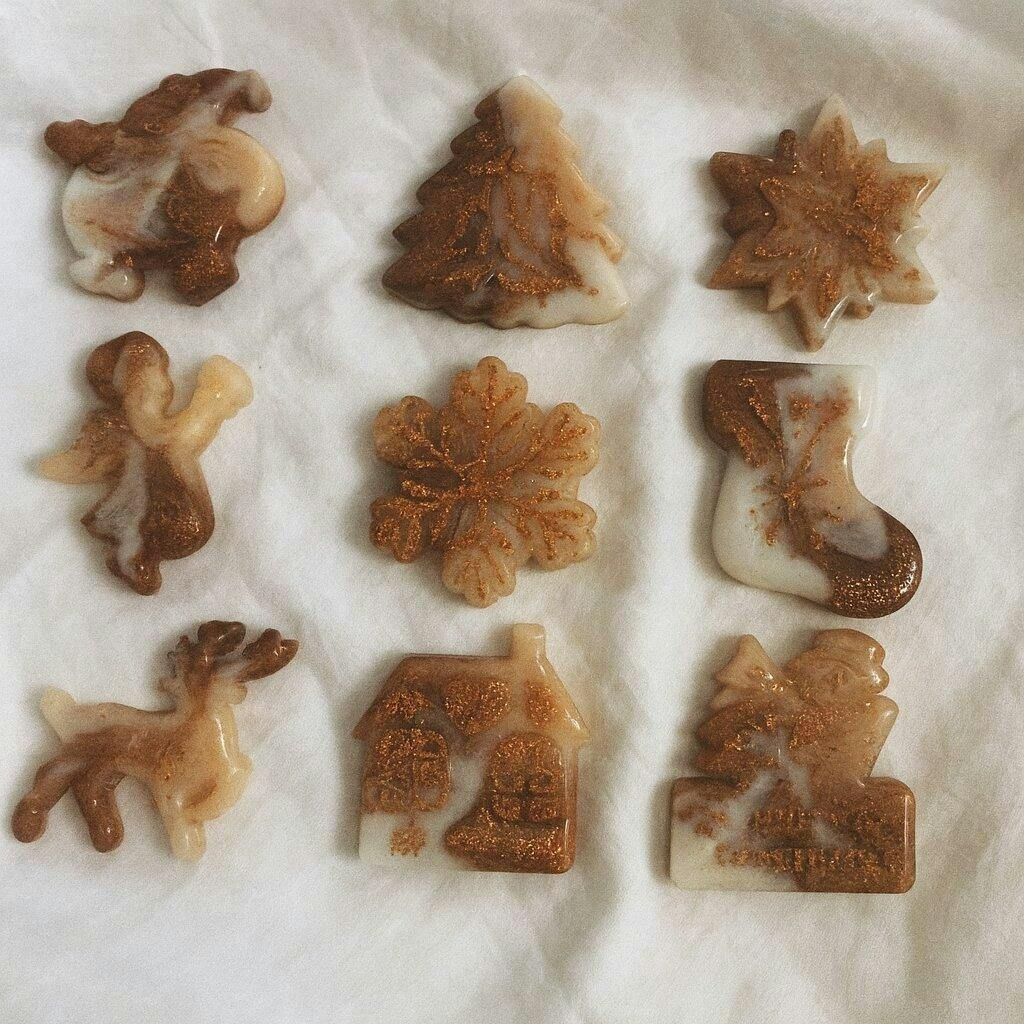
- Silicone Mold – Christmas Ornaments (9 designs, 8.5 cm)
📖 A tiny story (why Warm Spice feels easy)
Most resin fails don’t happen because of creativity — they happen because the materials don’t match: pigments that separate, resin that traps bubbles, or a mold that doesn’t hold fine details.
This kit removes the guessing. Everything is tested and fully compatible, so you can focus on the relaxing part: mixing warm tones, pouring slowly, and watching the ornament glow like candlelight.
🧤 Before you start (60 seconds)
- Room: 22–24°C for the most predictable result
- Safety: gloves + ventilation
- Surface: flat and stable (so the ornament cures evenly)
🛠 How to get the Warm Spice look: step by step
Step 1 — Mix the base (2–3 minutes)
Measure and mix the resin components A + B using A:B = 2:1 by weight. Stir slowly for 2–3 minutes (slow mixing = fewer bubbles).
Step 2 — Let it “breathe” (1–2 minutes)
Let the mixture rest for 1–2 minutes so micro-bubbles can rise to the surface.
Step 3 — Build your “dessert palette” (1–2 minutes)
Split the resin into 2–3 small cups:
- one cup: Beige for a creamy latte base
- second cup: Cocoa for deep warmth and contrast
- optional third cup: a touch of White for soft “whipped-cream” highlights
For a premium finish, add a tiny pinch of Bronze to one cup for candlelight glow. If you want a spiced “gingerbread” note, add a hint of Orange metallic (very little goes a long way).

 The secret to “wow”: build a creamy base first, then add bronze glow + soft sparkle
Step 4 — Add sparkle (10 seconds)
Mix in a small amount of Polyester Glitter White (less is more). Think “snow sugar”, not confetti.
Step 5 — Pour & swirl (2–4 minutes)
Pour your base shade first (usually Beige), then add Cocoa in a thin stream for depth. Finish with small touches of White for highlights.
- If needed: gently warm the surface (hairdryer from a distance) to pop bubbles
- Once poured: don’t move the mold — let the pattern settle naturally

 9 designs in one mold — create a full warm neutral set in one cozy evening
Step 6 — Cure (24 hours)
Leave the mold undisturbed for 24 hours on a flat surface. Don’t move it during curing — that’s how you get a smooth, glass-like finish.
Step 7 — Demold & enjoy ✨
Gently remove your ornaments — and you’ll see the “Warm Spice” effect: creamy neutrals, bronze glow, and a soft snowy shimmer that looks timeless.

💛 What you’ll love about the final look
- Cozy neutrals that match any interior
- Elegant metallic warmth (bronze/orange) that looks “expensive” in candlelight
- Soft white sparkle like snowy sugar — subtle and festive
- Beginner-friendly workflow — everything is made to work together
Ready to pour the season’s coziest vibe?
Order the Warm Spice Christmas Resin Kit and turn one evening into a warm holiday tradition ✨